Sliders are uniforms: reading parameters in Houdini VEX, explained for programmers
Houdini's VEX runs one small function over every point, like a GPU kernel, and ch() reads UI sliders the way a shader reads uniforms. A parametric wave, plus two traps: time is in seconds, and new sliders start at zero.
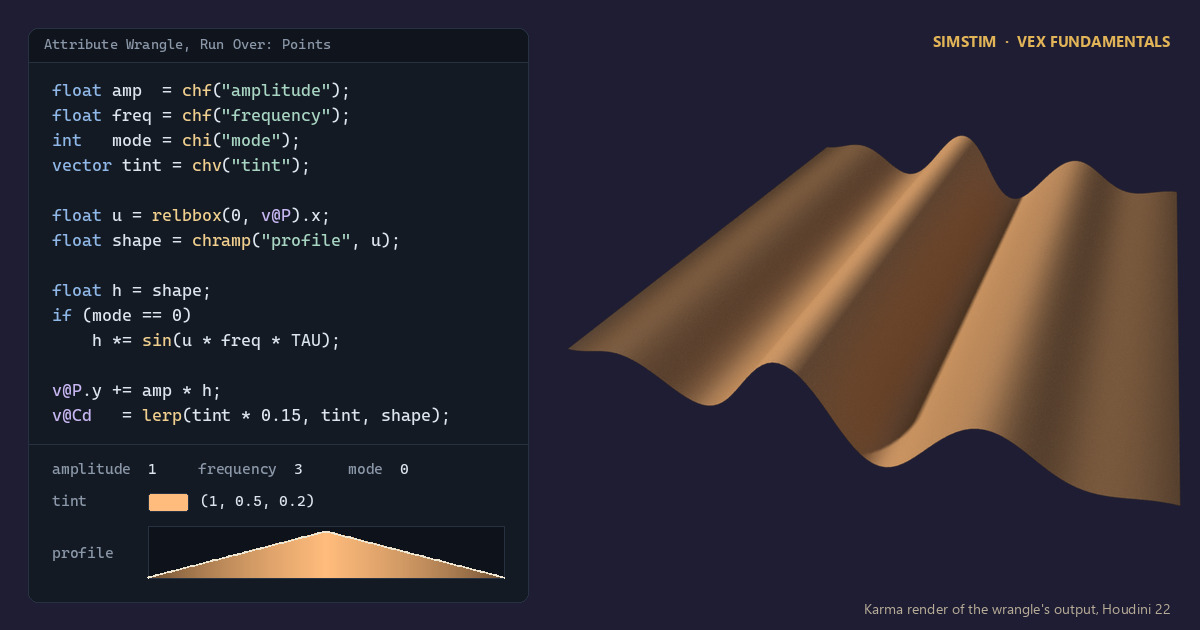
TL;DR Houdini's VEX language runs one small function over every point of a 3D model, like a GPU kernel over an array.
ch()and its typed siblings (chf,chv,chramp…) let that kernel read values from UI sliders, colors and curves, much like uniforms in a shader. This post builds a tiny parametric wave and covers two common traps: time is measured in seconds, not frames, and new sliders start at zero.
Jacking in
This is Day 1 of VEX Fundamentals, a Simstim series for people who write code but have never opened a 3D package. Gibson's simstim let you ride someone else's senses. This is the tamer version: you ride along as we work through VEX, the language that sits under most procedural work in Houdini.
Our syllabus for the series is Juraj Tomori's open VEX tutorial, alongside the SideFX VEX docs and Matt Estela's CGWiki. Everything below is our own explanation and code.
Houdini in 60 seconds
- SOPs (Surface Operators) are nodes that take geometry in and give geometry out. A Houdini scene is a dataflow graph of these nodes, a bit like a build graph.
- Geometry is made of points (positions), primitives (polygons, curves, volumes), vertices (a primitive's references to points) and one detail (the whole object).
- Attributes are named, typed arrays attached to one of those four levels.
Pis point position (a vector),Cdis color. In code you write them asv@Porf@height: the letter gives the type and@means "this element's attribute". - A wrangle is a SOP where you type VEX. Its Run Over setting picks the iteration domain. Set it to Points and your snippet runs once per point, in parallel, with no order guaranteed. If you've written a CUDA kernel or a NumPy ufunc, you already have the right mental model.
The core idea: parameters are uniforms
A kernel needs inputs that don't change from element to element, such as an amplitude, a color or a frequency. In GLSL those are uniforms. In VEX they're node parameters, and you read them with the ch family:
chf("name")returns a float,chian int,chva vector andchsa string.chramp("name", pos)samples a ramp parameter, which is a curve the user draws in the UI. Treat it as a 1D texture lookup withposin [0, 1].
The part that makes this feel like magic: once you've typed the calls, the Create spare parameters button to the right of the code editor reads your snippet and adds a matching UI widget for every ch call it finds. Your function signature becomes a UI.
Here's a parametric wave that uses four parameter types.
// Attribute Wrangle, Run Over: Points
// Input: a Grid SOP (e.g. 10x10 size, 100x100 rows/cols)
float TAU  = 6.2831853;

float amp  = chf("amplitude");     // float slider
float freq = chf("frequency");     // float slider
int   mode = chi("mode");          // 0 = wave * ramp, 1 = ramp only
vector tint = chv("tint");         // vector parm; set its type to Color in the UI

// normalized 0..1 coordinate across the grid in X
float u = relbbox(0, v@P).x;

// artist-drawn falloff curve, sampled like a 1D texture
float shape = chramp("profile", u);

float h = shape;
if (mode == 0)
    h *= sin(u * freq * TAU);

// same slider, evaluated half a second in the past (time is in SECONDS)
float amp_lag = chf("amplitude", @Time - 0.5);

v@P.y += amp * h;
v@Cd   = lerp(tint * 0.15, tint, shape);   // dark-to-tint along the profile
f@lag = amp - amp_lag; // inspect in the Geometry SpreadsheetTo run it: drop a Grid SOP, wire it into an Attribute Wrangle, leave Run Over on Points, paste the code and click the create-parameters button. Set amplitude to about 1 and frequency to about 3, and draw a bump in the profile ramp. The new sliders only run from 0 to 1, so type the 3 into the field.
For comparison, here's the same idea in NumPy. The "kernel" is vectorized array math and the "parameters" are plain function arguments:
import numpy as np

def wave(P, amp=1.0, freq=3.0, ramp_x=(0, .5, 1), ramp_y=(0, 1, 0)):
    x = P[:, 0]
    u = (x - x.min()) / np.ptp(x)             # relbbox(...).x
    shape = np.interp(u, ramp_x, ramp_y)      # chramp()
    P = P.copy()
    P[:, 1] += amp * shape * np.sin(u * freq * 2 * np.pi)
return PThe difference is where the arguments come from. In Houdini they live on the node, so they can be animated with keyframes, driven by expressions, or pointed at another node's parameter. You can read across nodes too: chf("../controls/height") evaluates a parameter on a sibling node. If that parameter contains an HScript or Python expression, ch returns the evaluated result, not the expression text.
What trips you up, and what clicks
- Time is in seconds. Tomori's tutorial says the optional time argument lets you evaluate a channel "at different frame". The current SideFX page for
chfnames the argumenttime_in_sec, and the page forchspells it out: the time is in seconds, not frames. Sochf("amplitude", 12)means 12 seconds, which is frame 289 at 24 fps (Houdini's frame 1 sits at time 0), not frame 12. Pass a frame number by mistake and you sample a moment far past your animation, where the value has usually stopped changing, so nothing seems to move. Pair it with@Time, which is also in seconds. - New sliders start at zero. Click the button and the grid goes completely flat. That isn't a bug: the button makes each float parameter with a default of 0 and a 0 to 1 slider, so amplitude and frequency come in at 0 and everything multiplies to zero. Get into the habit of setting defaults straight after creating parameters, before you blame your math.
chrampis overloaded on return type. The docs list both a float and a vector version with the same arguments. VEX chooses one from the type you assign to, which feels odd if you come from C++ or Java, where overloads are resolved on argument types.float s = chramp(...)samples a float ramp andvector c = chramp(...)samples a color ramp, so keep an explicit type on the left-hand side. One catch: the create-parameters button reads only the call, not your left-hand side. It makes a color ramp only when you write the cast,vector(chramp("name", u)), and a float ramp otherwise.- It's read-only, and that's the point. Every point reads the same parameter value (unless you pass a time), so it behaves like a uniform. Per-element variation comes from attributes, the topic of the next post in this series.
Try it yourself
- Install Houdini Apprentice, the free, non-commercial edition from SideFX.
- Build the Grid → Attribute Wrangle graph above.
- Exercise: add
chi("axis")so the wave can run along X or Z (the grid is flat in Y). Hint:relbboxreturns a vector, and you can index it with[]. - Stretch goal: keyframe amplitude and color the grid by
f@lag. Every point gets the same value, so the whole grid's color tracks how fast amplitude is changing: a crude velocity readout built from a parameter's own history.
Not ready to install Houdini? Run the NumPy version above on a np.meshgrid and plot it with matplotlib. The idea carries over directly.
Functions used: chf, chi, chv, chramp, relbbox, sin, lerp. Each one links to its entry in the Simstim VEX reference.
Sources
- jtomori/vex_tutorial, Juraj Tomori's VEX tutorial ("Reading parameter values")
- SideFX VEX docs: chf, ch, chv, chramp, relbbox
- SideFX HOM docs: hou.timeToFrame (frame = time × fps + 1)
- CGWiki: Joy of Vex Day 4, Matt Estela (channel sliders and ramps)
- VEX for artists, kiryha's Houdini wiki (the create-parameters button)
Related
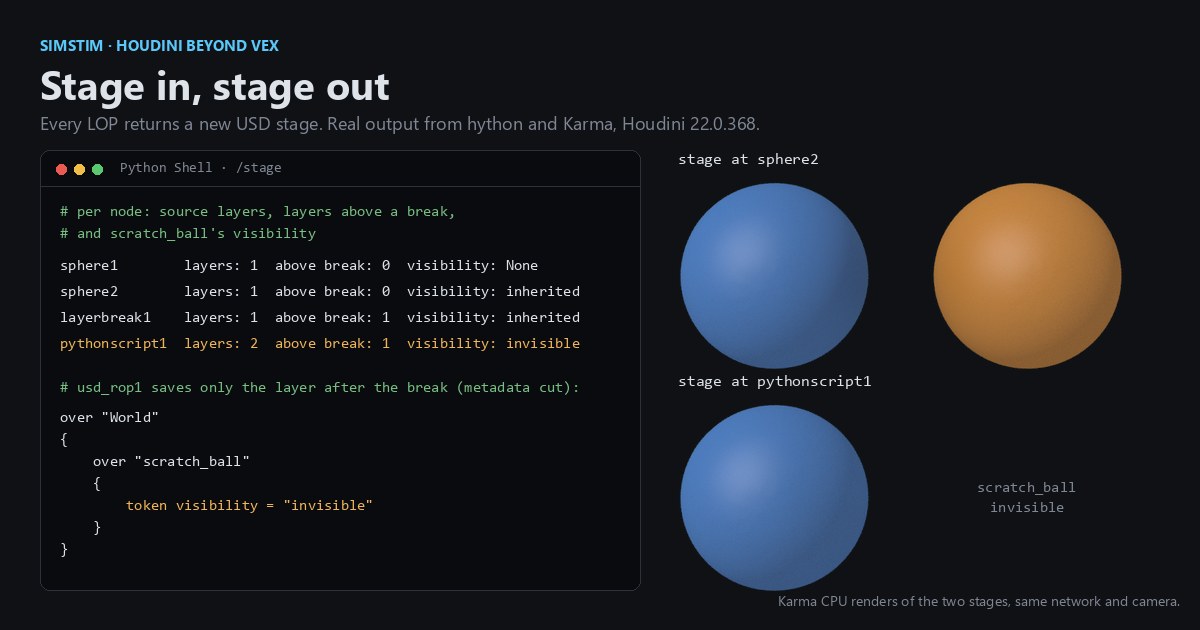 HoudiniStage in, stage out: Houdini's Solaris treats every node as a function over a USD sceneIn Houdini's Solaris, every LOP node takes a composed USD stage and returns one, and its edits land in one in-memory layer at the top. A 31-line usd-core model of that contract, the Python LOP that does it for real, the same network checked in Houdini 22, and why a Layer Break decides what gets saved.
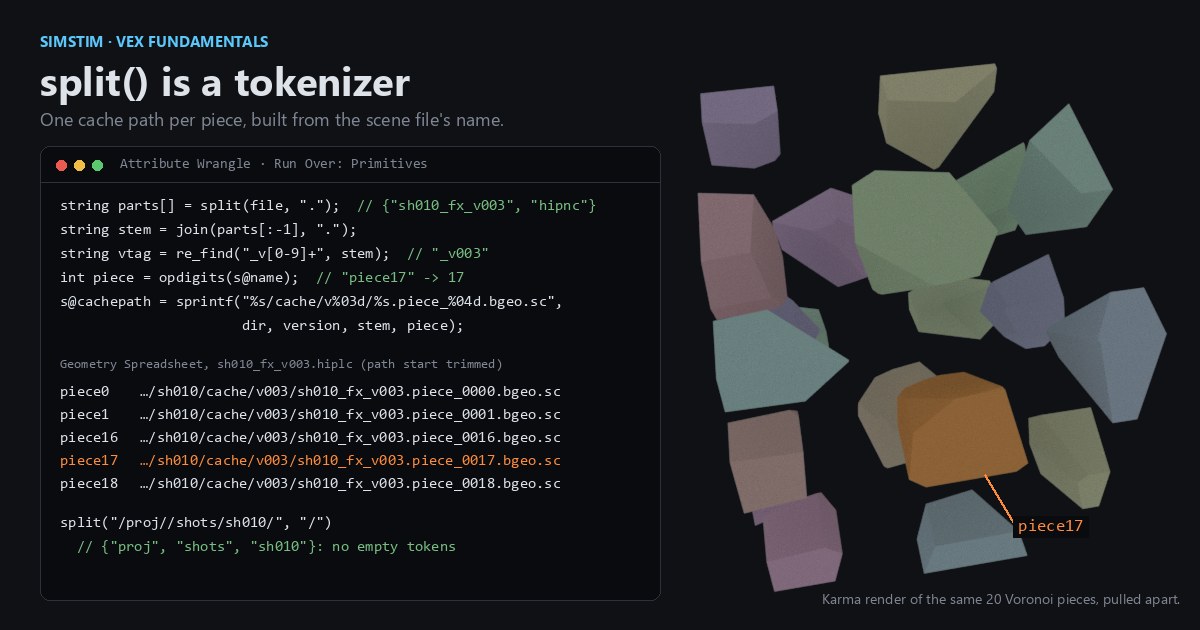 Houdinisplit() is a tokenizer: building cache paths from strings in Houdini VEXVEX strings look like Python's, but split() merges separators and drops empty fields, len() counts bytes, and a wrangle expands $ before the compiler sees it. A per-piece cache path built from the scene file name, and the traps along the way, checked in Houdini 22.
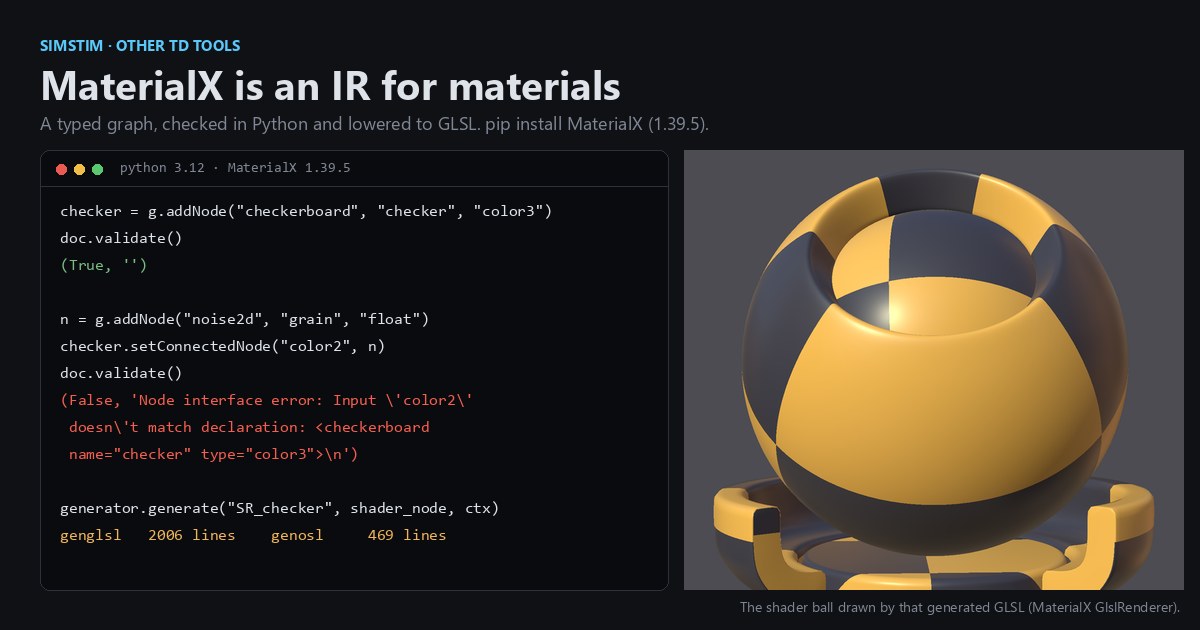 LatestMaterialX is an IR for materials: build a typed shader graph in Python, then lower it to GLSL and OSLA MaterialX material is a typed dataflow graph stored as XML, which a library type-checks and compiles to several shading languages. With only pip install MaterialX, build a checkerboard material in Python, watch the validator reject a float wired into a color, and generate GLSL and OSL from the same file.