The same point loop three ways in Houdini: VEX, a Python for-loop, and NumPy
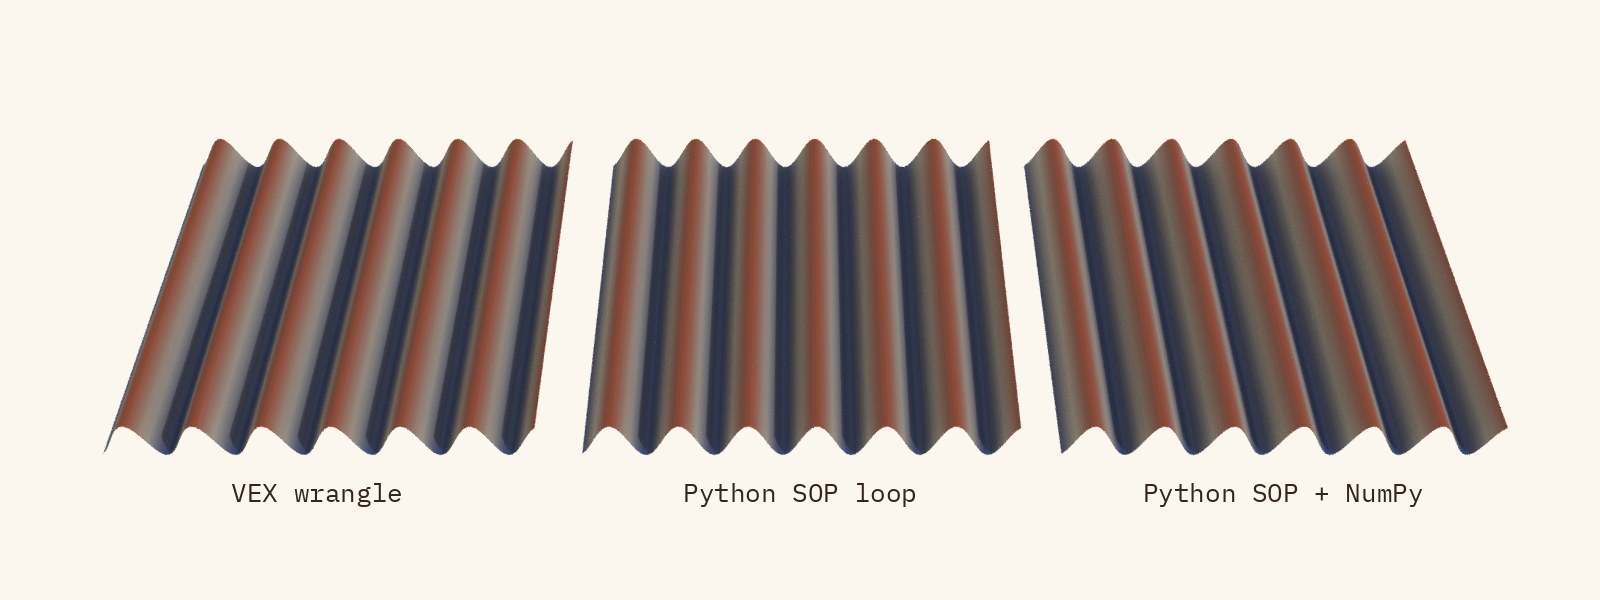
One sine-wave deformer written three ways in Houdini: a VEX wrangle, a Python SOP that loops over every point, and a Python SOP that hands one flat buffer to NumPy. All three give the same grid, but on a million points the loop takes seconds and the other two take milliseconds.
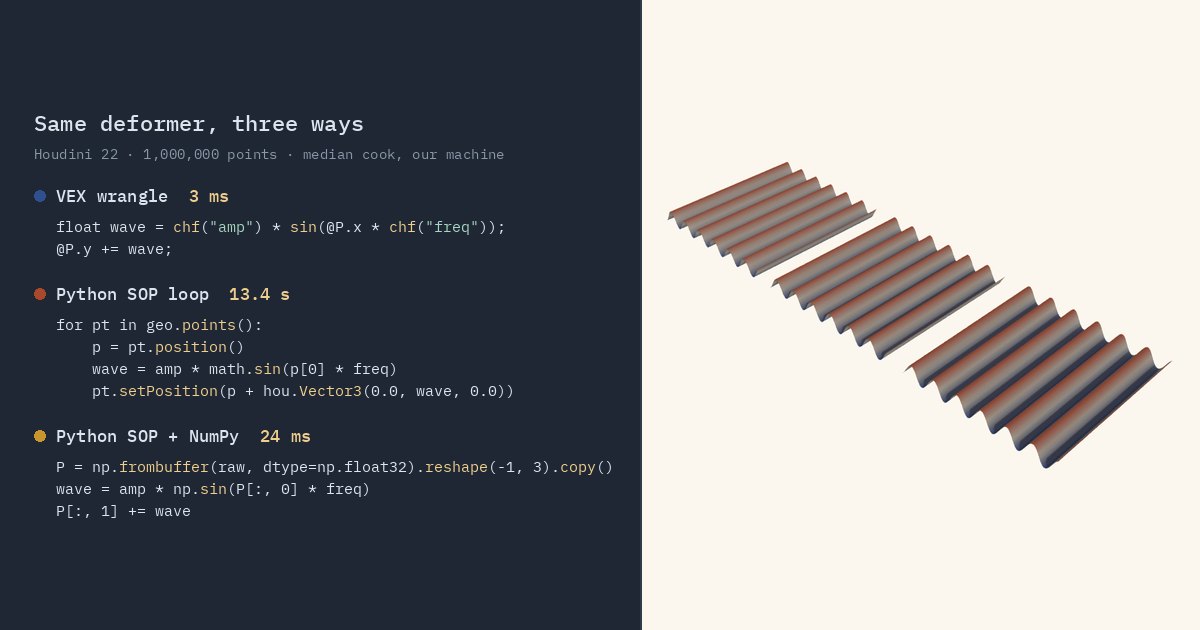
TL;DR A Houdini Python SOP runs your Python once per cook, not once per point, so the loop over points is yours to write. We write one sine-wave deformer three ways: as a VEX wrangle, as a Python loop over every point, and as NumPy on one flat buffer. All three give the same grid, to float precision. On a million points the loop took about 13 seconds on our machine, the NumPy version 24 ms and VEX 3 ms. The fast Python path asks Houdini for a whole attribute in one call instead of one point at a time.
Houdini in 60 seconds
This post opens Houdini Beyond VEX, a Simstim series about working in Houdini with tools other than VEX. It picks up where two VEX posts leave off: reading parameters and reading other points' data from a wrangle.
Houdini builds geometry with a graph of nodes, and the geometry nodes are called SOPs. Each SOP takes geometry in and passes new geometry out. Geometry is made of points (positions), primitives (polygons, curves and so on), vertices (a primitive's reference to a point) and one detail (the whole object). Any of these can carry attributes: named, typed arrays such as P (position, three floats) or Cd (color). Think of a struct-of-arrays table where each attribute is a column.
A wrangle is a SOP where you write VEX. With Run Over set to Points (the default), your snippet runs once per point, in parallel, like a GPU kernel. You never write the loop.
A Python SOP has the opposite model: your script runs once per cook. hou.pwd() returns the node that is cooking, and its geometry() is the node's output, which Houdini fills with a copy of input 0 before your code runs. Whatever you leave in it is what the node outputs, and the loop over points is up to you.
The core idea: same job, three shapes
The job: push every point up or down by a sine wave driven by two sliders, amp and freq, and store the offset in a new point attribute called wave.
1. VEX. Drop a Grid and set its Rows and Columns to 100; the default 10 is too coarse to show the wave. Wire an Attribute Wrangle under it and paste:
// Attribute Wrangle, Run Over: Points. Runs once per point, in parallel.
float wave = chf("amp") * sin(@P.x * chf("freq"));   // chf reads a slider
@P.y += wave;
f@wave = wave; // writing to f@wave creates the attributeClick the Create spare parameters button to the right of the code editor to get the amp and freq sliders. They start at 0, so the grid stays flat until you set them. Amp 0.5 and freq 4 give a clear ripple on this grid; the new sliders stop at 1, so type the 4 into the field. Writing to f@wave is all it takes to create the attribute.
2. Python SOP, the obvious way. Branch a Python SOP off the same Grid (Tab > Python). Add two Float parameters named amp and freq with the gear menu > Edit parameter interface, set them to the wrangle's values, and replace the default code with:
import math

node = hou.pwd()               # the Python SOP that is cooking right now
geo = node.geometry()          # its output: a writable copy of input 0
amp = node.evalParm("amp")     # Python's version of chf("amp")
freq = node.evalParm("freq")

# Python doesn't create attributes on write: declare it first.
if geo.findPointAttrib("wave") is None:
    geo.addAttrib(hou.attribType.Point, "wave", 0.0)

# One Python object per point, and every call crosses into Houdini's C++ core.
for pt in geo.points():
    p = pt.position()          # a hou.Vector3
    wave = amp * math.sin(p[0] * freq)
    pt.setPosition(p + hou.Vector3(0.0, wave, 0.0))
pt.setAttribValue("wave", wave)3. Python SOP, the buffer way. A second Python SOP off the same Grid, with the same two parameters:
import numpy as np

node = hou.pwd()
geo = node.geometry()
amp = node.evalParm("amp")
freq = node.evalParm("freq")

# One call returns every point's P as packed float32 bytes: x0 y0 z0 x1 y1 z1 ...
raw = geo.pointFloatAttribValuesAsString("P")
P = np.frombuffer(raw, dtype=np.float32).reshape(-1, 3).copy()  # copy: frombuffer is read-only

# Ordinary vectorized NumPy: whole columns at once, no Python loop.
wave = amp * np.sin(P[:, 0] * freq)
P[:, 1] += wave

# One call per attribute writes it all back. A float32 array goes straight in.
if geo.findPointAttrib("wave") is None:
    geo.addAttrib(hou.attribType.Point, "wave", 0.0)
geo.setPointFloatAttribValuesFromString("P", P)
geo.setPointFloatAttribValuesFromString("wave", wave)If you write NumPy for a living, the third version needs no explanation, and that's the point. Houdini keeps each attribute in its own array, the layout NumPy wants, and the ...AsString / ...FromString pair moves a whole attribute in one call. "String" is a leftover from Python 2. In Python 3 the read returns bytes, and the write accepts any object that supports the buffer interface, NumPy arrays included, so there's no need for .tobytes().
Compare the three outputs and they agree to float precision. With amp 0.5 and freq 4, VEX and the Python loop matched bit for bit, and NumPy differed in the last bit on some points. With amp 0.37 and freq 3.3, all three differed somewhere, by at most 3e-7. The Python loop does its math in 64-bit floats, while VEX (at its default precision on this geometry) and NumPy work in 32-bit. When you compare two versions of a tool's output, use a tolerance, not ==.
The same NumPy idea, with no Houdini involved:
import numpy as np

P = np.random.rand(1_000_000, 3).astype(np.float32)   # a "point cloud"
P[:, 1] += 0.5 * np.sin(P[:, 0] * 4.0) # same op, same shapeHow much faster is the buffer?
We timed each node's cook in Houdini 22.0.368 with hython on our machine, a 12-core Intel i9-10920X (medians of several cooks):
- 100 points (10 × 10 grid): VEX 0.08 ms, NumPy 0.3 ms, the loop 1.5 ms. Nobody will notice.
- 10,000 points (100 × 100): VEX 0.5 ms, NumPy 0.5 ms, the loop 127 ms, an eighth of a second per cook.
- 1,000,000 points (1000 × 1000): VEX 3 ms, NumPy 24 ms, the loop 13.4 seconds.
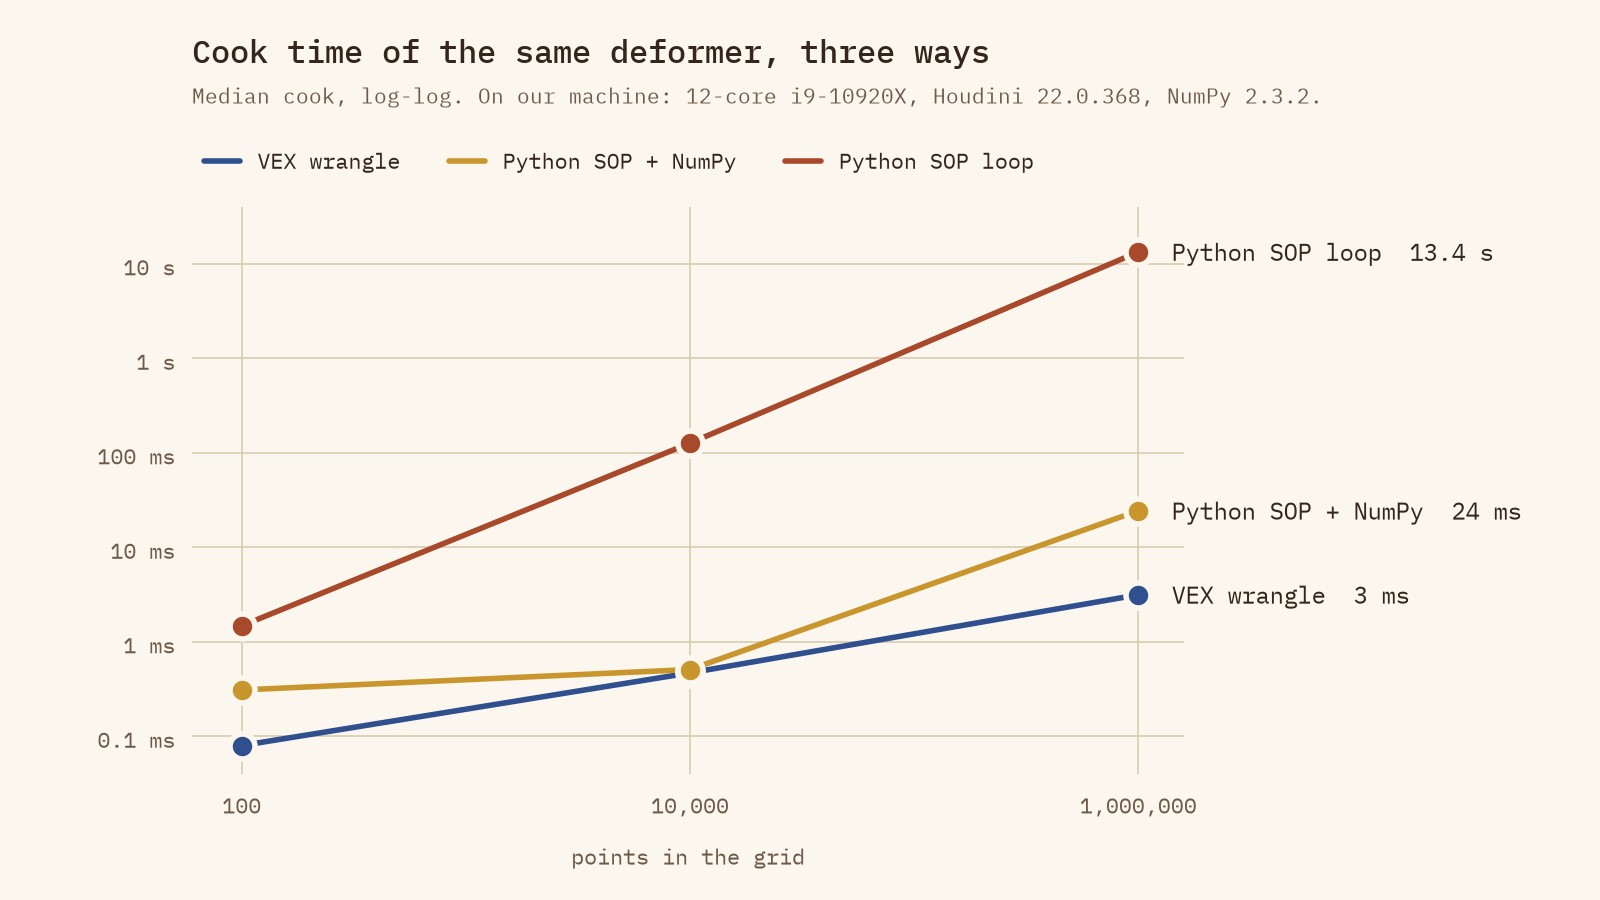
So the loop costs about 13 microseconds per point, and almost none of that is the sine. Outside Houdini, a plain Python loop over the rows of a million-point NumPy array took 0.57 seconds on the same machine. The rest is the per-point calls into Houdini.
The NumPy version isn't mostly NumPy, either. Of its roughly 20 ms of Python, the sine and the add take about 6 ms. Reading P out takes about 6 ms, the .copy() 1.5 ms, and writing P and wave back about 7 ms. That round trip is the price of leaving VEX. It's small next to the loop, but it's why VEX still wins this race.
To measure on your own machine, open the Performance Monitor (Windows > Performance Monitor), click Record, nudge each node's amp, click Stop and compare the cook times.
What trips you up, and what clicks
- A Python SOP doesn't run per point. A wrangle hides the loop and runs it in parallel. A Python SOP hands you the whole geometry once and leaves the looping to you.
geo.points()is a tuple of handles, not data. Everyposition(),setPosition()andsetAttribValue()is a separate call from Python into Houdini's C++ core. It's the classic "don't loop in Python over a NumPy array" mistake, with a 3D package wrapped around it.- Python doesn't create attributes when you write to them. In VEX,
f@wave = wave;createswave. In Python, writing to a missing attribute raiseshou.OperationFailed, so you calladdAttribfirst. That raises too if the attribute already exists ("An attribute with this name already exists"), which happens as soon as the Python SOP sits below the wrangle. Hence thefindPointAttribguard. - The buffers are strict.
np.frombuffergives a read-only view of the bytes, so without the.copy()the+=fails withValueError: output array is read-only. The write-back reads float32 unless told otherwise: pass a float64 array and it fails with "Incorrect attribute value sequence size" rather than writing garbage. Convert with.astype(np.float32), or passhou.numericData.Float64as the third argument. - Outside a cook, geometry is read-only. Ask a SOP for its geometry from the Python Shell, as in
hou.node("/obj/geo1/grid1").geometry(), and you get a read-only reference: any edit raiseshou.GeometryPermissionError. It's live, not a snapshot, so if the grid recooks with more rows, the same object reports the new point count.freeze()gives you a snapshot you can edit, but the edits don't reach the node. Inside a Python SOP's cook,hou.pwd().geometry()is writable, and the input's geometry stays read-only. - Older examples assume Python 2. They treat the
...AsStringresult as astr, and even the Houdini 22 help's own example for it callsarray.fromstring, which Python 3.9 removed. In Houdini 22's Python that's anAttributeError. Usenp.frombuffer, orarray.frombytesif you don't want NumPy.
What clicks: VEX is a kernel, and a Python SOP is host code. If you've written CUDA or compute shaders, it's the same split: keep per-element work in the kernel, and use the host for I/O, orchestration and whole-buffer operations. NumPy sits in between. You describe the whole-array operation and NumPy runs the loop in C, which is why the buffer version lands so much closer to VEX than to the loop.
So why not always use VEX?
For this job, you should. VEX is shorter, faster and native. Reach for a Python SOP when the job is Python-shaped: reading data VEX has no reader for (a .npy file, say), calling a library that only exists in Python, talking to a studio service, or reusing code you already maintain outside Houdini. When you do, use the buffer path.
One practical note: Houdini 22 ships Python 3.13.10 and NumPy 2.3.2, and SideFX also offers a separate Python 3.11 build. Anything compiled that you add must match the build you run. SciPy isn't included.
Try it yourself
- Install Houdini Apprentice, the free, non-commercial edition from SideFX. It has everything in this post, NumPy included.
- Build the three branches above off one Grid, then set the Grid's Rows and Columns to 1000 for a million points. Expect the loop node to take seconds per cook at that size.
- Time them with the Performance Monitor and compare with our numbers.
- Exercise: color the grid by
wavein the NumPy version. Build an (N, 3) float32 array fromwaveand write it toCdwithsetPointFloatAttribValuesFromString.Cdneeds the sameaddAttribguard aswave. - Stretch goal: replace the sine with heights from a file. Save one float per point with
np.saveoutside Houdini, thennp.loadit in the Python SOP and add it toP[:, 1]. The array's length must match the point count, or NumPy refuses to broadcast it. VEX has no.npyreader, so this one is Python's.
No Houdini? Run the plain NumPy snippet, then time it against a Python for loop over the rows of P with timeit. On our machine the loop was about 50 times slower. In Blender, mesh.vertices.foreach_get("co", buf) and foreach_set are the same bulk-buffer pattern.
Functions used: chf, sin. Each one links to its entry in the Simstim VEX reference.
Python API used: hou.pwd, hou.SopNode.geometry, hou.OpNode.evalParm, hou.Geometry.points, hou.Point.position, hou.Point.setPosition, hou.Point.setAttribValue, hou.Geometry.findPointAttrib, hou.Geometry.addAttrib, hou.Geometry.pointFloatAttribValuesAsString, hou.Geometry.setPointFloatAttribValuesFromString.
Sources
- SideFX: Define a geometry node (SOP) using Python (the cooking node's geometry, with input 0 copied in)
- SideFX HOM: hou.Geometry (read-only references, freeze, the AsString and FromString pair, addAttrib) and hou.Point
- SideFX: HOM binary data (bytes in Python 3)
- SideFX: Performance monitor pane
- SideFX: What's new in Houdini 22: platforms (Python 3.13.10, NumPy 2.3.2)
- NumPy: numpy.frombuffer
- Python: What's New in Python 3.9 (array.fromstring removed)
- Blender Python API: bpy_prop_collection.foreach_get
Related
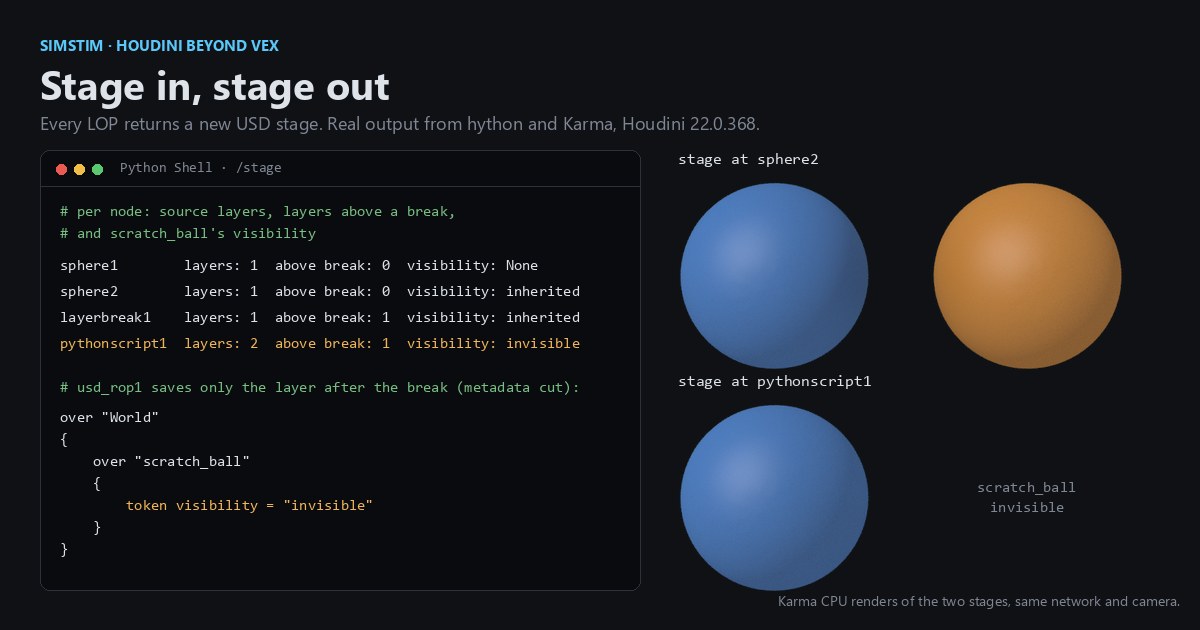 HoudiniStage in, stage out: Houdini's Solaris treats every node as a function over a USD sceneIn Houdini's Solaris, every LOP node takes a composed USD stage and returns one, and its edits land in one in-memory layer at the top. A 31-line usd-core model of that contract, the Python LOP that does it for real, the same network checked in Houdini 22, and why a Layer Break decides what gets saved.
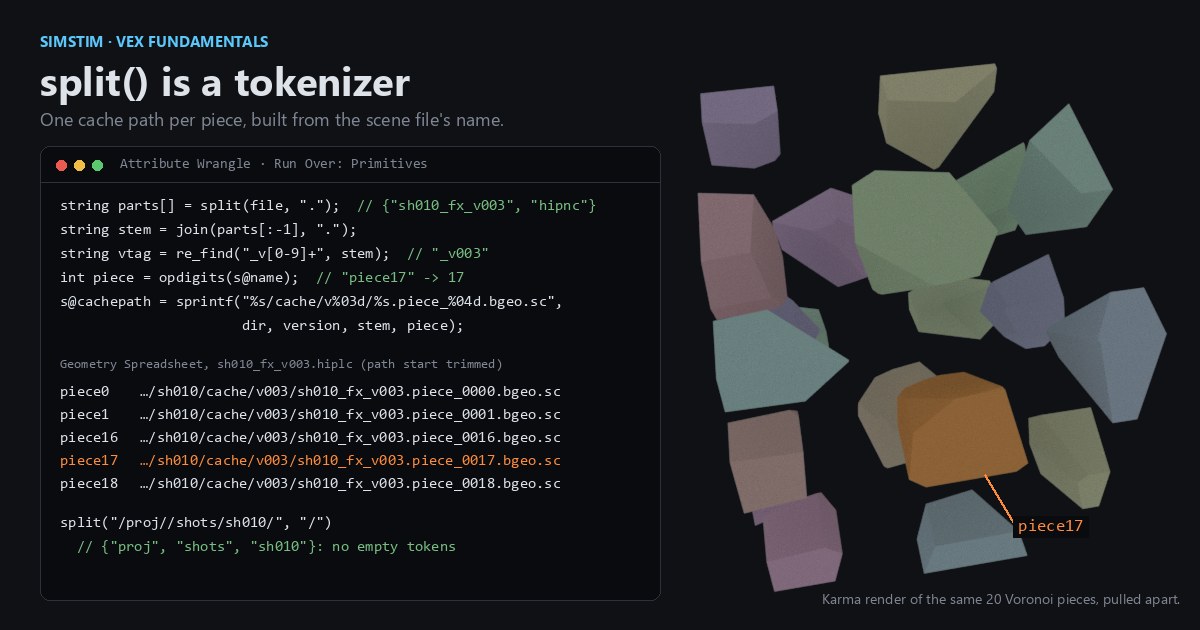 Houdinisplit() is a tokenizer: building cache paths from strings in Houdini VEXVEX strings look like Python's, but split() merges separators and drops empty fields, len() counts bytes, and a wrangle expands $ before the compiler sees it. A per-piece cache path built from the scene file name, and the traps along the way, checked in Houdini 22.
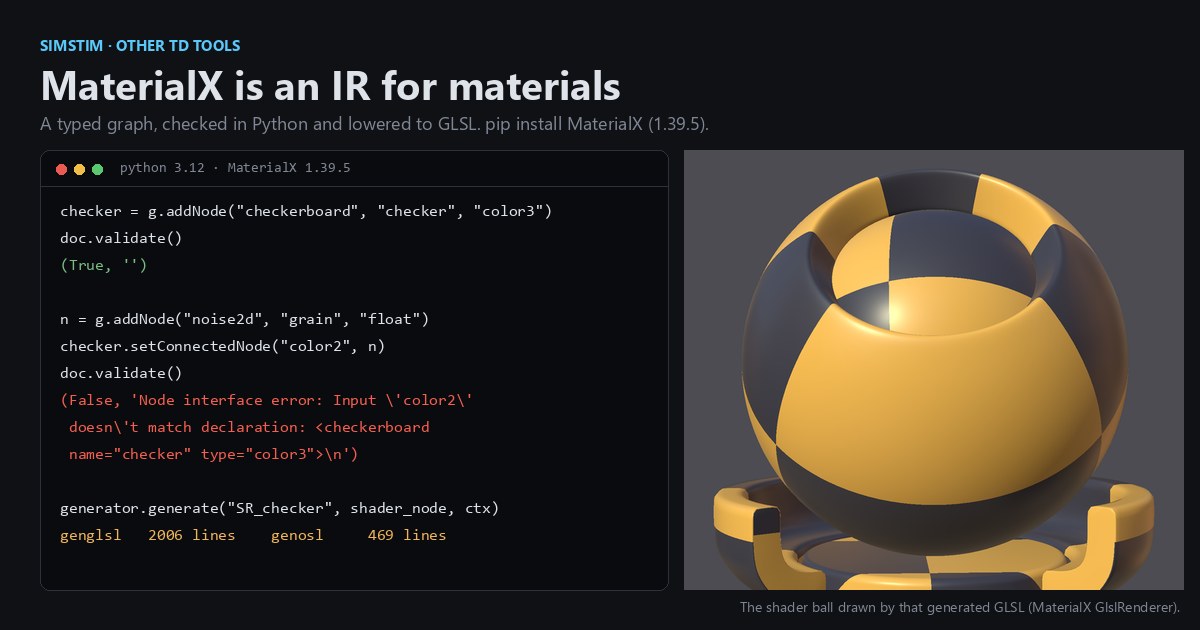 LatestMaterialX is an IR for materials: build a typed shader graph in Python, then lower it to GLSL and OSLA MaterialX material is a typed dataflow graph stored as XML, which a library type-checks and compiles to several shading languages. With only pip install MaterialX, build a checkerboard material in Python, watch the validator reject a float wired into a color, and generate GLSL and OSL from the same file.